Madeline Hunter Lesson Plan: The 7 Steps, a Free Template and Two Examples
The seven elements of Madeline Hunter's lesson design explained step by step, with a free Word and PDF template and two complete K-12 examples.
Draft My Lesson Team
The short answer: A Madeline Hunter lesson plan follows seven elements in order: objective and purpose, anticipatory set, input, modeling, check for understanding, guided practice, and independent practice. Many districts add closure as an eighth step. The model is built for explicit teaching of a skill or concept: the teacher explains and shows, checks, then gradually hands the work to students.
Key takeaways
- The model comes from Madeline Hunter's work at UCLA and is often called Instructional Theory Into Practice (ITIP).
- It fits procedural skills and new content that students need to see modeled: algorithms, grammar rules, lab techniques, writing moves.
- The two checkpoints that matter most are check for understanding and guided practice. Skip them and the lesson becomes a lecture followed by a worksheet.
- Hunter presented the elements as decisions to consider, not a checklist every lesson must display.
Free Madeline Hunter lesson plan template (Word and PDF)
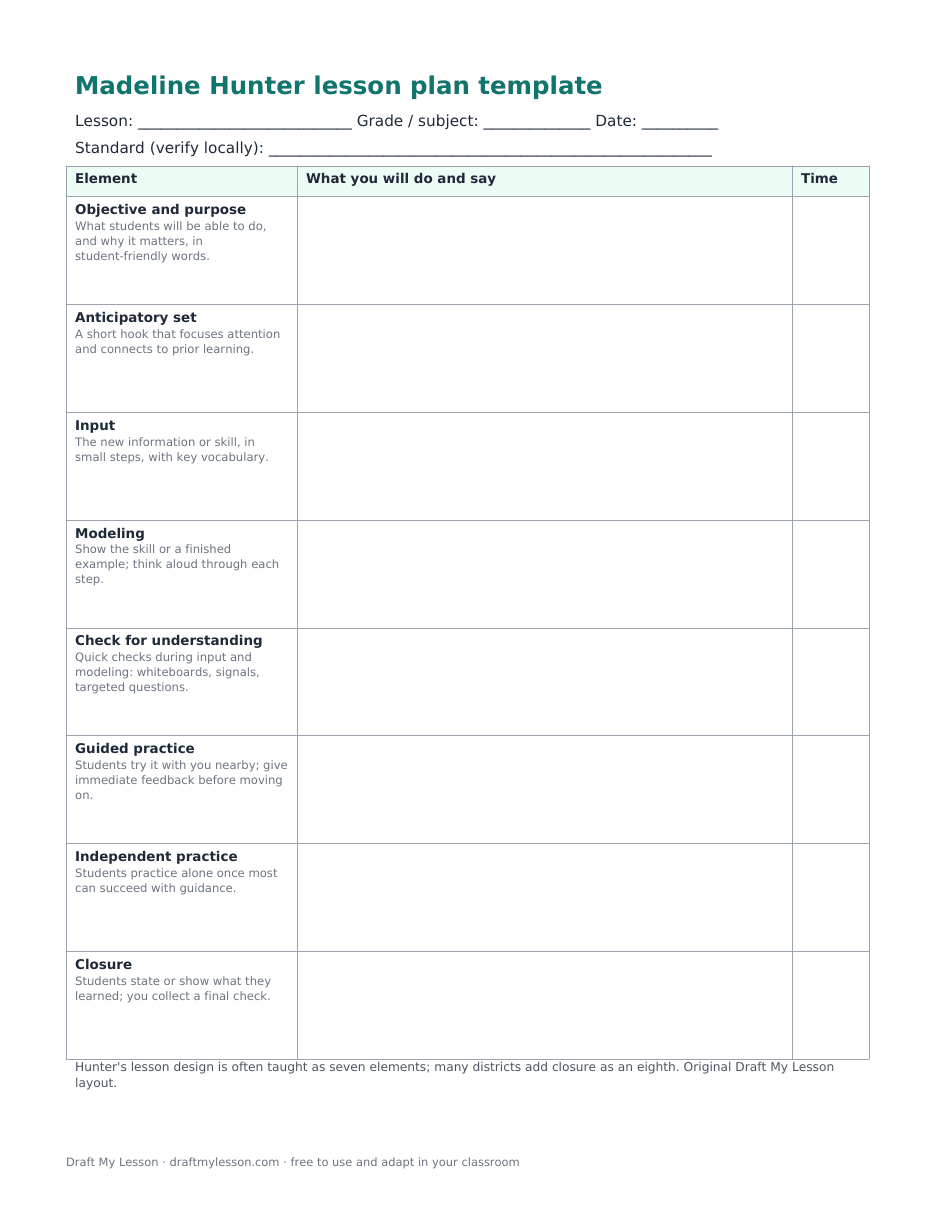
Download the blank template as an editable Word file or a printable PDF. It has one row per element, including closure, with a prompt for what to write and a column for timing. The filled-in Grade 4 math example (Word) shows a complete 50-minute lesson with an answer key. No account is needed. In Google Docs, upload the Word file to Drive and open it with Google Docs.

Who was Madeline Hunter?
Madeline Hunter (1916-1994) was an American educator who spent most of her career at the University of California, Los Angeles, where she led the university's laboratory elementary school and later taught in the Graduate School of Education. Her approach to lesson design, known as Instructional Theory Into Practice, spread through teacher training and district evaluation systems in the 1970s and 1980s. Her book Mastery Teaching (1982) presented it to classroom teachers.
The model's popularity also produced its main criticism: some districts turned the elements into an observation checklist and expected all seven in every lesson. That was never the point. The elements are a way to think through how students will learn a new skill, and a lesson that continues yesterday's practice may only need two or three of them.
The 7 steps of a Madeline Hunter lesson plan
1. Objective and purpose
State what students will be able to do by the end of the lesson, in student-friendly words, and why it matters. The objective should be observable: "I can multiply a two-digit number by a one-digit number using an area model" rather than "learn multiplication". For help with the wording, see our guide to lesson plan objectives.
Common mistake: posting the standard code on the board and calling it the purpose. Students need the reason in their own language.
2. Anticipatory set
A short opening, usually three to five minutes, that focuses attention and connects to what students already know. It can be a question, a quick problem, an image or a short scenario. The best sets lead directly into the new skill instead of being a separate warm-up.
Common mistake: a fun hook that has nothing to do with the objective. If students cannot see the link by the end of input, the set did not do its job.
3. Input
The new information, broken into small steps. Introduce key vocabulary, give the rule or procedure, and use concrete examples. Keep it short: input in an elementary lesson rarely needs more than ten minutes before students do something with it.
4. Modeling
Show what the skill looks like when it is done well, and think aloud while you do it. Modeling is where students see the decisions an expert makes, not just the final answer. A worked example on the board, a finished piece of writing or a lab demonstration all count.
5. Check for understanding
Before students practice, find out whether they can follow the steps. Use quick checks that give you evidence from every student: mini whiteboards, hand signals, a single question answered in pairs, or a "show me" with manipulatives. If many students miss it, reteach before moving on.
Common mistake: asking "Any questions?" and taking silence as understanding.
6. Guided practice
Students try the skill with you close by, often in pairs, while you circulate and correct errors early. Stop the class once if the same error appears in several places. Move on only when most students can succeed with this level of support.
7. Independent practice
Students practice alone, in class or as homework, once they can do it with guidance. The tasks should match the objective and include a few items that vary the context so you can see transfer, not memorization of the modeled example.
Closure (often added as step 8)
Students summarize or show what they learned before the lesson ends: a one-sentence explanation, a final problem, or an exit ticket. Closure gives you evidence for tomorrow's plan and gives students a moment to consolidate.
Example 1: Grade 4 math, multiplying with area models
Standard: CCSS.MATH.CONTENT.4.NBT.B.5 (use only where the Common Core applies): multiply a whole number of up to four digits by a one-digit whole number using strategies based on place value, and illustrate and explain the calculation with equations, rectangular arrays and/or area models.
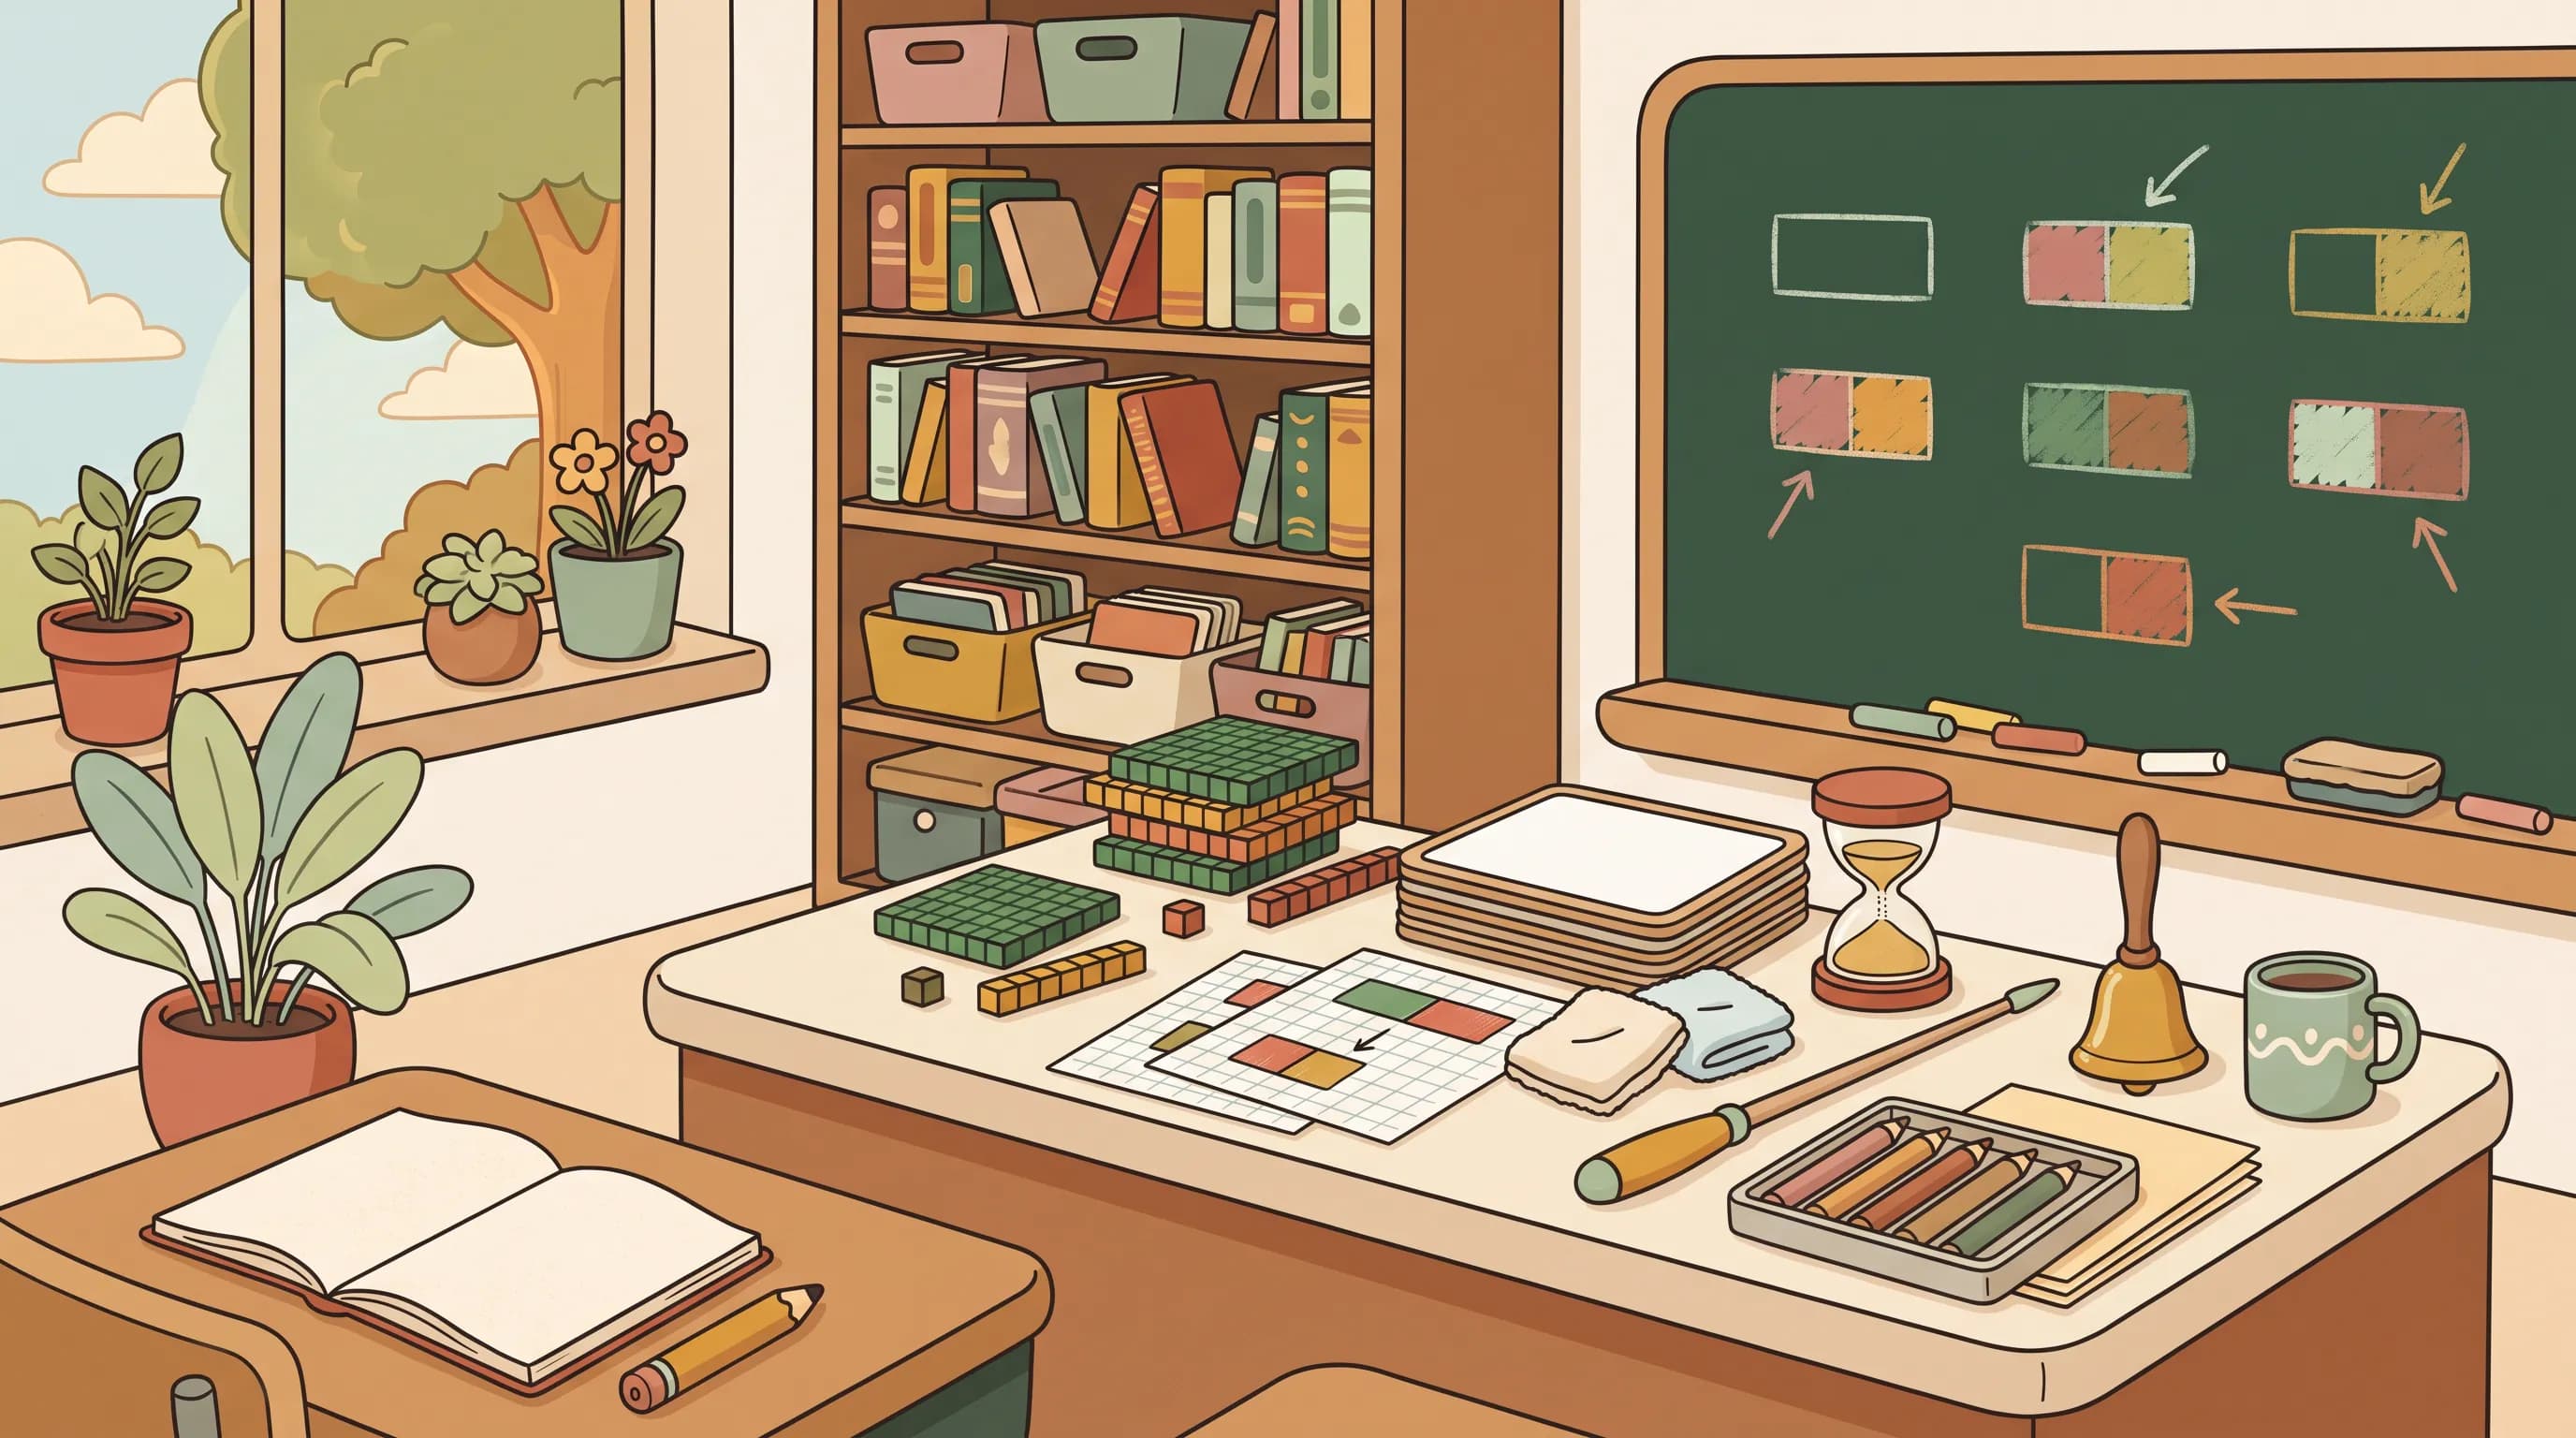
Duration: 50 minutes. Materials: grid paper, mini whiteboards, half-sheet practice, exit ticket.
| Element | Time | Plan |
|---|---|---|
| Objective and purpose | 4 min | Display: "I can multiply a two-digit number by a one-digit number using an area model and explain each part." Area models show why multiplication works, which helps with bigger numbers later. |
| Anticipatory set | 5 min | Show a classroom floor plan with 4 rows of 23 tiles. "How could we count every tile without counting one by one?" Pairs share a strategy. |
| Input | 8 min | Break 23 into 20 + 3. Draw a rectangle 4 units tall, split into a 4 × 20 part and a 4 × 3 part. Name the parts: partial products. |
| Modeling | 7 min | Think aloud through 6 × 34: split 34 into 30 + 4, label both rectangles, find 180 and 24, add to get 204. Write the matching equation 6 × 34 = (6 × 30) + (6 × 4). |
| Check for understanding | 3 min | Whiteboards: "Split 47 for an area model." Look for 40 + 7. Thumbs up, sideways or down on "Why do we add the two parts?" |
| Guided practice | 10 min | Pairs solve 3 × 52 and 7 × 18 with area models while the teacher circulates. Stop the class once to fix the most common error (multiplying only the tens). |
| Independent practice | 10 min | Four problems on a half sheet: 5 × 26, 8 × 41, 3 × 67, 9 × 15, each with an area model and an equation. |
| Closure | 3 min | Exit ticket: solve 4 × 38 with an area model and write one sentence explaining what the two rectangles stand for. |
Answer key: 5 × 26 = 130; 8 × 41 = 328; 3 × 67 = 201; 9 × 15 = 135; exit ticket 4 × 38 = 120 + 32 = 152.
Example 2: Grade 9 ELA, embedding quotations as evidence
Standard: CCSS.ELA-LITERACY.RL.9-10.1 (where adopted): cite strong and thorough textual evidence to support analysis of what the text says explicitly as well as inferences drawn from the text.
Duration: 45 minutes. Materials: a short story the class has read, a model paragraph, a highlighter per student.
| Element | Time | Plan |
|---|---|---|
| Objective and purpose | 3 min | "I can embed a short quotation in my own sentence and explain how it supports my claim." Readers trust an argument when the evidence is woven in, not dropped in. |
| Anticipatory set | 4 min | Show two sentences making the same claim: one with a "dropped" quotation standing alone, one with an embedded phrase. "Which one sounds like a confident writer? Why?" |
| Input | 8 min | Three ways to embed: introduce with a signal phrase, blend a short phrase into your sentence, or use a colon after a complete sentence. Punctuation rules for each. |
| Modeling | 8 min | Think aloud while writing a claim about the story's main character, choosing a four-to-eight-word quotation, embedding it, and adding one sentence of explanation. |
| Check for understanding | 4 min | Students label three sample sentences as dropped, signal phrase or blended, and hold up fingers for their answer. |
| Guided practice | 9 min | Pairs rewrite two dropped quotations from a sample paragraph as embedded quotations, then compare with another pair. |
| Independent practice | 7 min | Each student writes a claim about the story with one embedded quotation and one sentence of explanation. |
| Closure | 2 min | Students highlight the embedded words in their sentence and hand it in as an exit ticket. |
Use your own text and adjust the punctuation rules to the style guide your school follows.
Madeline Hunter, 5E and gradual release compared
| Model | Order | Best for | Watch out for |
|---|---|---|---|
| Madeline Hunter | Teacher explains and models first, students practice | New procedures, rules and techniques | Turning every lesson into a lecture plus worksheet |
| 5E model | Students explore first, the teacher explains after | Concepts with a phenomenon students can investigate | Exploration without a clear Explain phase |
| Gradual release ("I do, we do, you do") | Teacher models, class practices together, students work alone | Skills that need scaffolded practice | Rushing from "we do" to "you do" |
Hunter's model and gradual release overlap heavily: input and modeling are "I do", guided practice is "we do", and independent practice is "you do". The main difference is that Hunter's model adds the anticipatory set and an explicit check for understanding before practice. For a broader comparison of six formats, see our lesson plan format guide.
When to use the Madeline Hunter model
Use it when students need to learn a specific skill or procedure that is easier to learn by watching an expert first: long division, citing evidence, balancing equations, using a microscope, a serve in volleyball. It also works for observed lessons, because the structure makes your instructional decisions visible.
Choose another model when the goal is for students to discover a pattern or build an explanation from evidence, when the lesson is mainly discussion, or when students already have the skill and need extended practice. In those cases, a 5E lesson, a workshop model or a backward-designed unit may fit better.

Draft a Madeline Hunter lesson for your class
The template works on paper. If you want a first draft instead of a blank page, the Draft My Lesson lesson generator drafts an editable lesson plan with objectives, activities, practice and an assessment from your topic, grade and duration. Map its sections onto the seven elements, and review the content, timing and curriculum references before teaching. Your free account includes two complete lessons.
Frequently asked questions
What are the 7 steps of the Madeline Hunter lesson plan?
The seven steps are objective and purpose, anticipatory set, input, modeling, check for understanding, guided practice and independent practice. Many templates add closure as an eighth step, so you will also see it described as an eight-step lesson plan.
What is an anticipatory set in a lesson plan?
The anticipatory set is the short opening of a Madeline Hunter lesson. It focuses students' attention, activates prior knowledge and leads into the new skill, usually in three to five minutes. A good set is a question, image, problem or scenario that students can only fully answer once they learn the day's content.
Is the Madeline Hunter model the same as direct instruction?
It is one of the best-known forms of explicit, teacher-led instruction, and many people use the terms loosely. Strictly, "Direct Instruction" with capital letters refers to the scripted programs developed by Siegfried Engelmann, while Hunter's model is a general framework for planning any lesson in which the teacher explains and models before students practice.
Is closure part of Madeline Hunter's lesson plan?
Closure is widely taught with the model and appears in most Madeline Hunter templates, either as an eighth element or as part of independent practice. Whatever you call it, ending with a short check of what students learned gives you evidence for the next lesson.
Is the Madeline Hunter model still used?
Yes. Its elements appear in many district lesson plan templates, teacher-preparation programs and observation rubrics, often without Hunter's name. Most current templates that start with an objective, include modeling and guided practice, and end with independent practice follow her structure.
Continue your lesson planning toolkit
- Lesson plan format: Madeline Hunter compared with five other formats.
- How to write a lesson plan: the full process, step by step.
- Lesson plan objectives and Bloom's taxonomy verbs: write the objective and purpose.
- Exit ticket examples: ready-made closure checks.
- Free lesson plan template: an all-purpose template when you do not need a specific model.
Related articles
6 Lesson Plan Formats Compared (And When to Use Each)
A side-by-side comparison of the six lesson plan formats teachers actually use: Madeline Hunter, 5E, Workshop, Backward Design, SIOP, and the daily one-pager. Honest tradeoffs and a decision matrix.
Read articleHow to Write a Lesson Plan: A 7-Step Guide for Teachers
A step-by-step method for writing a classroom-ready lesson plan in under 30 minutes, with three real K-12 examples and the components every plan needs.
Read articleThe 5E Lesson Plan: A Practical Guide for K-12 Teachers
The 5E model (Engage, Explore, Explain, Elaborate, Evaluate) is the most widely used inquiry framework in US K-12 science. Here is what each phase looks like, where it works, and two full worked examples.
Read articleI Do, We Do, You Do: The Gradual Release Model With a Template and Example
How the "I do, we do, you do" gradual release model works, where it comes from, when to move to the next phase, a free lesson plan template and a complete Grade 7 math example.
Read article